You can create a new data table on the Data tab.
To create a new Data Table:
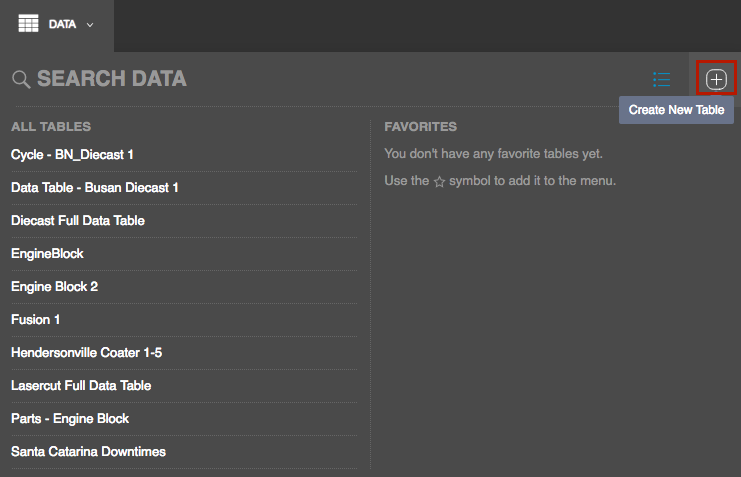
- On the Data Tab, click the Create New Table button.
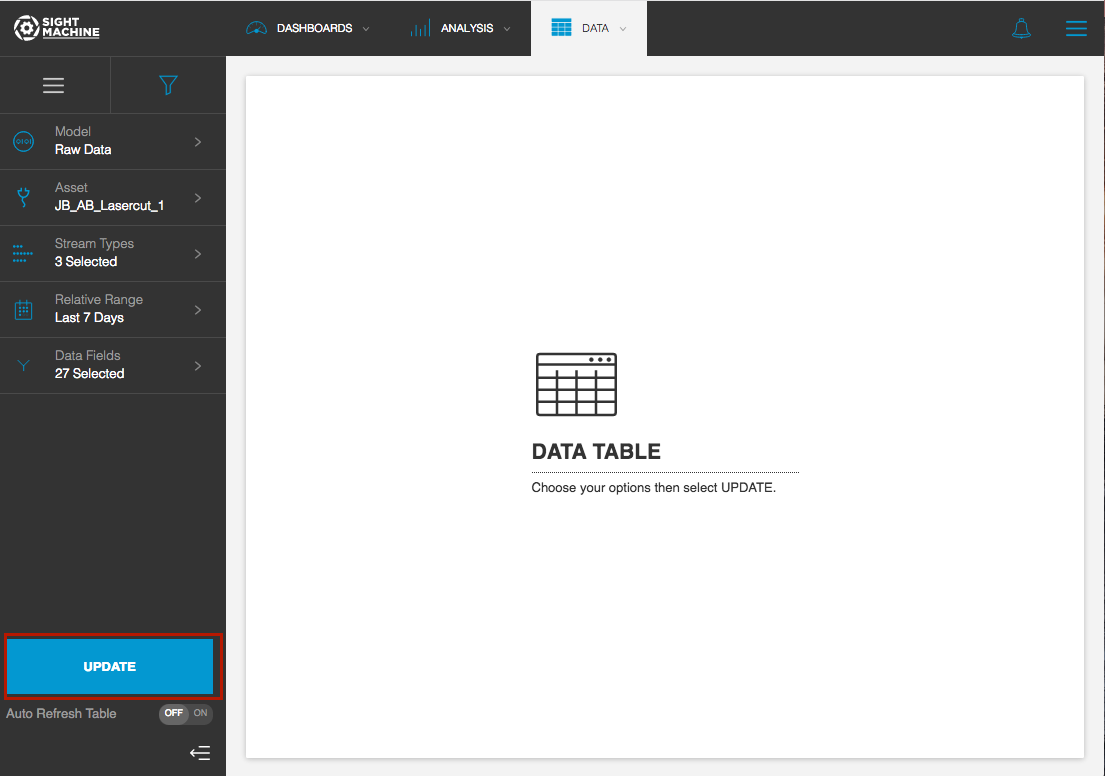
- On the new table screen, you can choose your options on the left.
For more information, see Selecting Data for the Data Table. - Click Update to generate the data table.
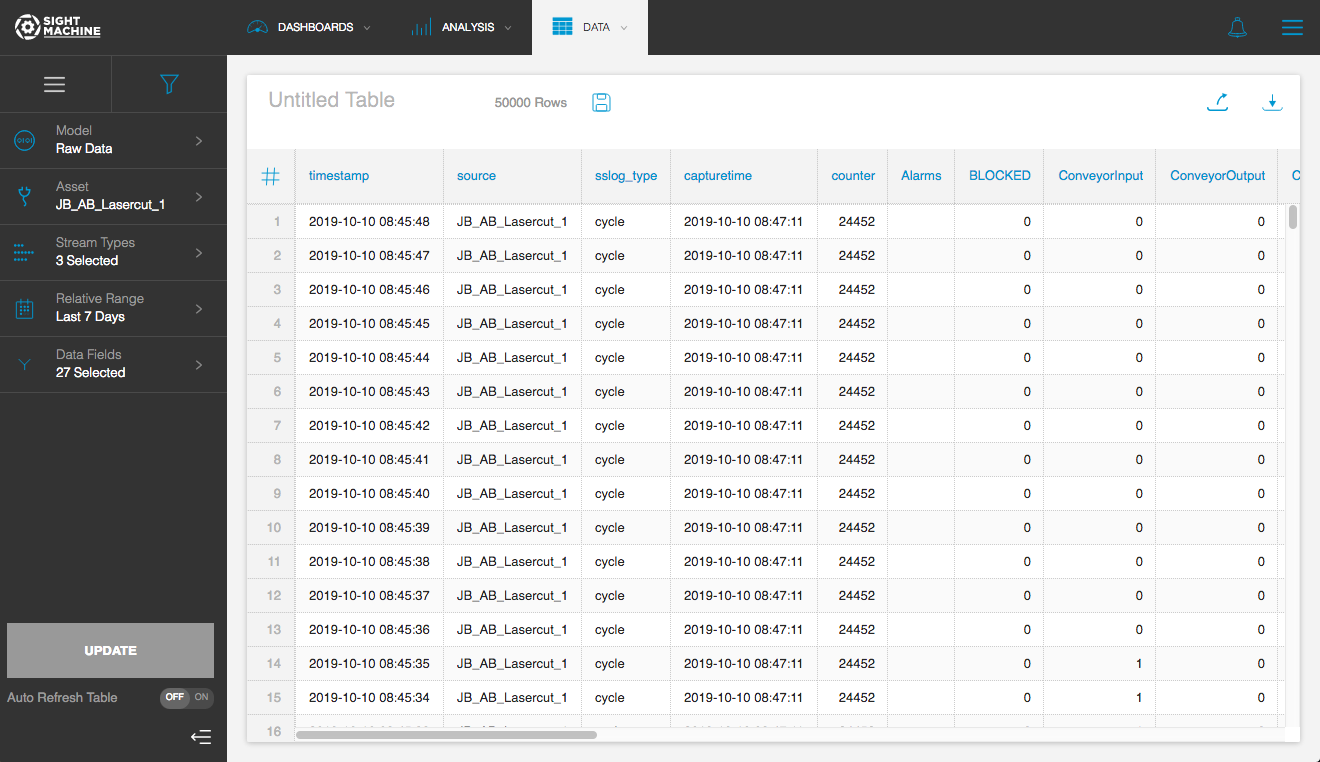
- View the results.
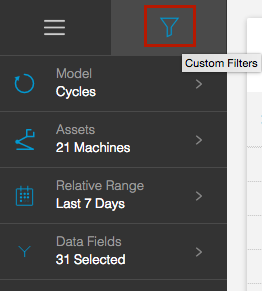
At the top of the data table's sidebar, the Standard Filters tab contains all of the menus for selecting data.
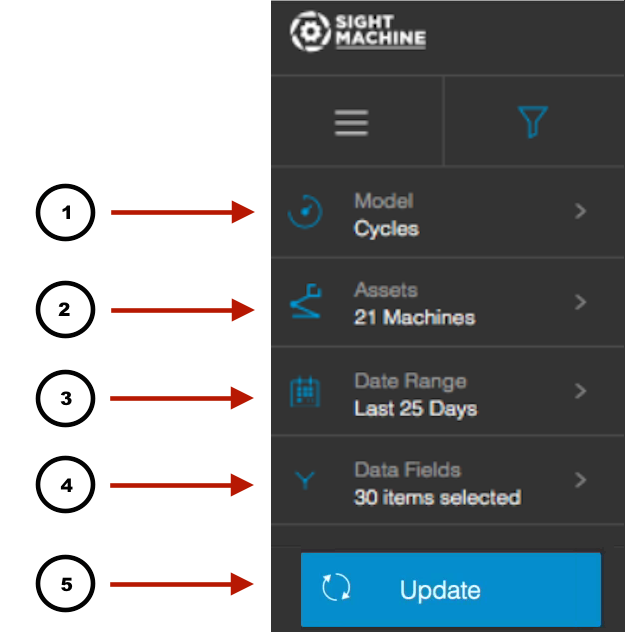
The standard filter options include:
- Model: You can select from contextualized data models. Each implementation with Sight Machine has models configured specifically for that manufacturing process. The most common include: Cycles, Downtime, Parts, and OEE.
- Assets: You can select specific machines, sorting by machine type or location. On the Cycles, Downtimes, and Defects models, you can only select machines of the same type. On the OEE model, you can select machines across different types.
NOTE: When the Parts/Lots model is selected, the Asset selector is replaced by a Part Type/Lot Type selector. - Date Range: You can click the date range selector, and then select the range that you want to inspect. A relative date range will be selected by default. You can change this to a historical date range by unchecking the box marked Relative Date.
- Data Fields: You can select any number of parameters to display.
Selecting Data for the Data Table
The Custom Filters tab on the sidebar allows you to filter the results.
To filter data table results:
- Click the Custom Filters tab.
- Click Add Filter, and then select a data field.
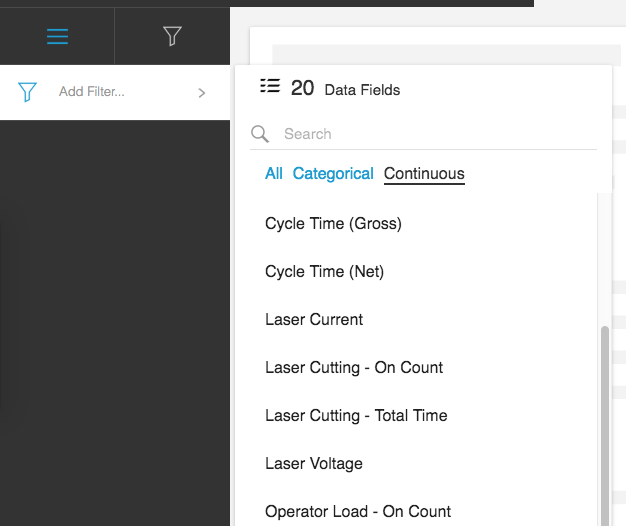
- For categorical fields, you can select a value or set of values (and toggle between equal to and not equal to). For continuous fields, you can apply one or more numeric conditions (e.g., range, greater than, etc.). Make your selection, and then click Apply.
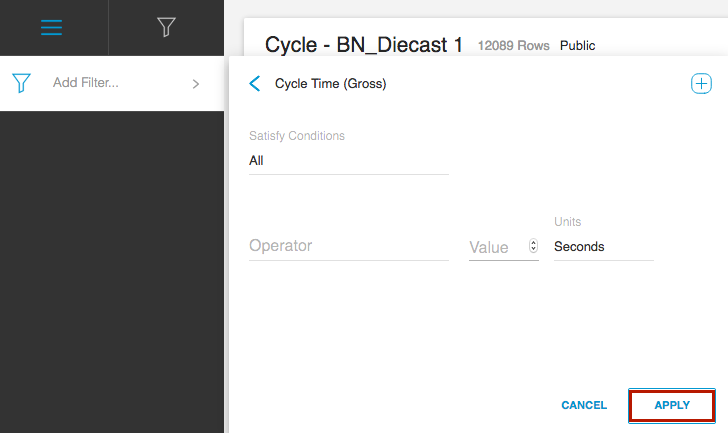
- Click Update to update the table.
NOTES:
- This allows to quickly view and explore information without the need to permanently save a data table.
- These tables automatically clear once the session is complete, ensuring the workspace remains organized and free of unnecessary clutter.
- The system allows for rapid data retrieval and analysis without generating permanent artifacts or saved files.
Saving a Data Table
After you create the new data table and make any adjustments to the filter, you can save it for future use as well as mark it as a favorite, label it, share it, download it, etc.
To save a data table:
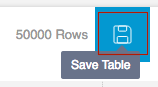
- At the top of the data table window, type a name for the table.
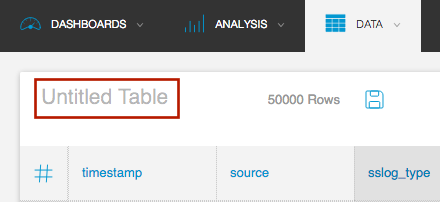
- Click the Save button. If you make additional changes, be sure to click Save again when you are finished.
- After you save the data table, the toolbar options at the top of the page change. You can do the following:
- Change the sharing permissions of the data table to Private or Public.
- Permanently delete the data table.
- Mark the data table as a Favorite. It then appears as a Favorite on the Data tab.
- Manage the labels for the data table.
- Share a link to the table using email.
- Download the data table results as a CSV file. s

Downloading a Data Table
You can export the data in a Data Table into a ‘.csv’ file for offline analysis, using the Download Data icon on the far right.
To export a Data Table:
Click on the Download Data icon.
You will see a “Preparing Download” icon that lets you know the data is being exported. Once the download is completed, you will find a link to the downloaded ‘.csv’ file.

For large data sets, you could also click on the email icon to receive an email with a link to the downloaded file, instead of waiting for the download to complete.

NOTE: Please note that null values in the data are represented as blank cells in the ‘.csv’ file.
Data Model Support
You can download Data Tables for all data models, including Raw Data, Cycles, Parts, Downtimes, and Lines models.
