Introduction
Welcome to the ODBC Data Access service provided by Sight Machine. With this service, you can seamlessly connect to the Sight Machine platform and access your data using your API Key and Secret. This documentation guides you through the process of connecting to the Sight Machine platform in various external products.
If you have not obtained your API Key and Secret, please refer to the article, Obtaining Your API Key and Secret.
Establishing a Connection
Connecting with a Database Client
The Sight Machine database runs on PostgreSQL, so you need a database client with the appropriate drivers. Many clients use the JDBC driver, which you can find at https://jdbc.postgresql.org. Refer to your software's documentation for specific driver requirements. Your data is stored in the tenant_storage database within the sightmachine schema.
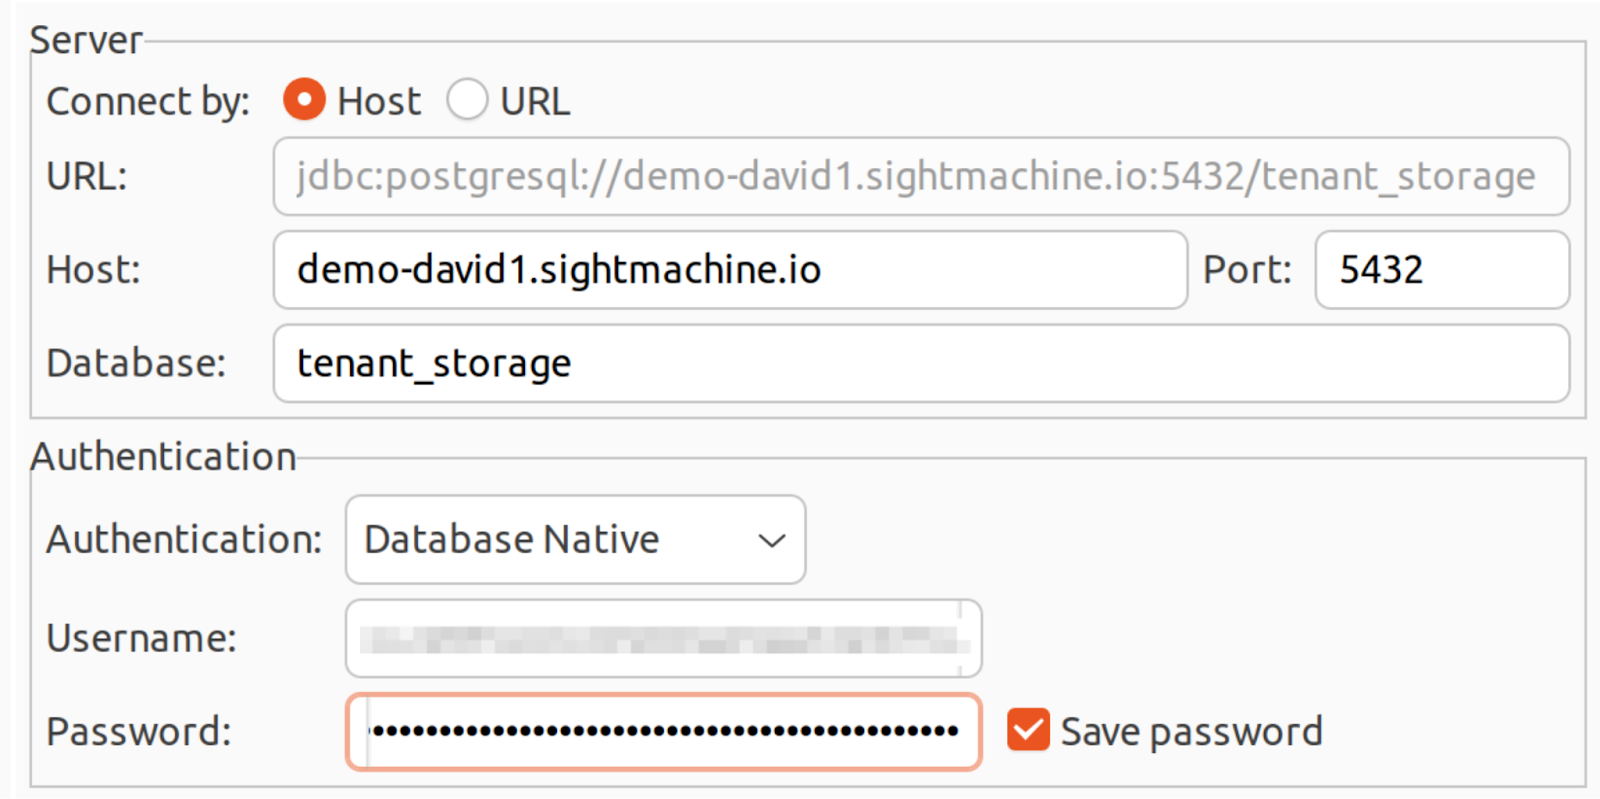
To connect, use the following information as required by your software:
Host: Your sightmachine.io domain
Port: 5432
Database: tenant_storage
Username: Your API key
Password: Your API secret
Connecting with PowerBI
To retrieve data from the Sight Machine database using PowerBI, do the following:
In the main ribbon menu, click Get Data, and then click More at the bottom of the menu.
In the resulting dialog box with data options, click the Database category on the left.
.png "image(2).png")
From the list on the right, click PostgreSQL database, and then click Connect.
On the next screen, type the server name. This should match your sightmachine.io domain from the website. The database to connect to is tenant_storage.

Click either Import or DirectQuery, depending on your needs.
For your login credentials, type or paste your API key as the username and your API secret as the password.
.png "image(4).png")
Click Connect. Once you are connected, you can easily select your data for direct import or apply custom transformations as required.
.png "image(3).png")
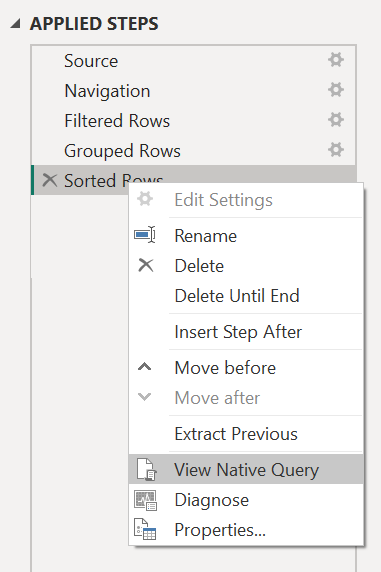
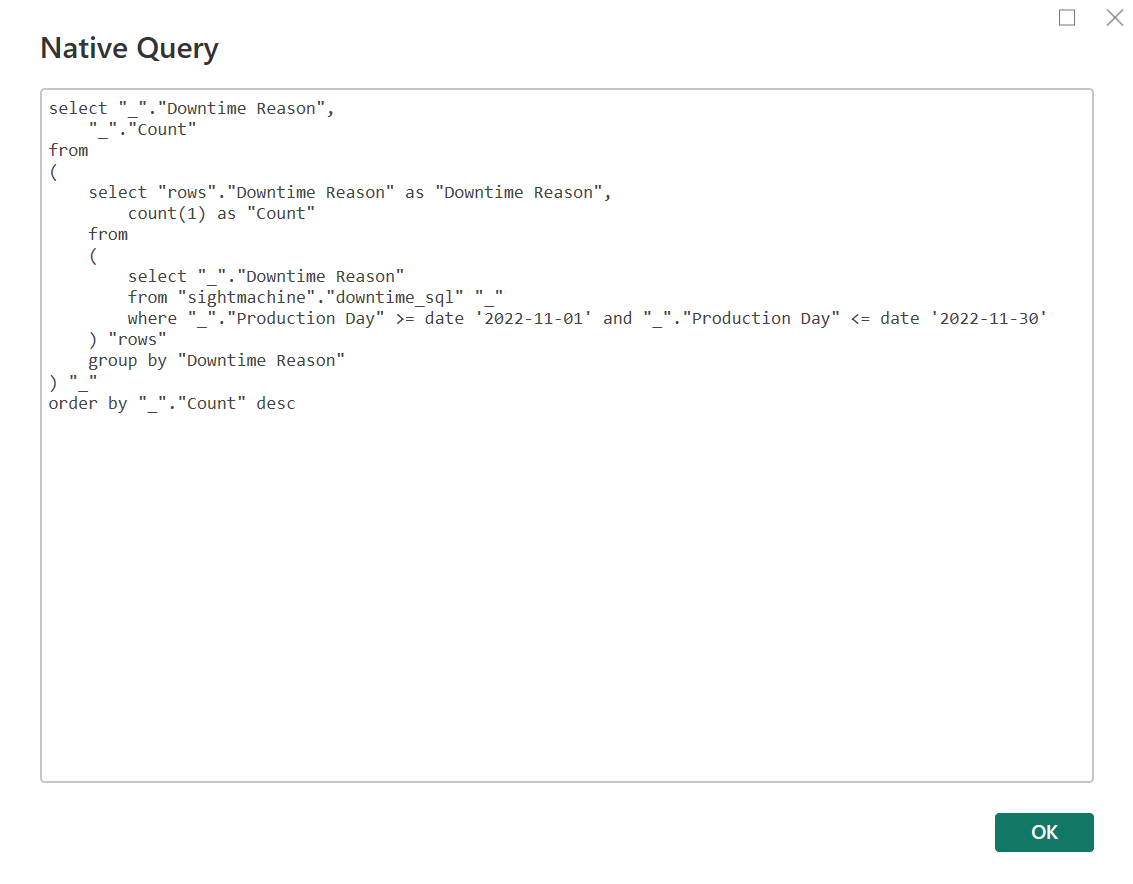
You also have the option to view the native SQL query that is being executed, which can be helpful for debugging or gaining insights into your data.
Connecting with Mendix
To use your data in Mendix, do the following:
Download the PostgreSQL JDBC connector from https://jdbc.postgresql.org and place the .jar file in the userlib folder within your project folder.
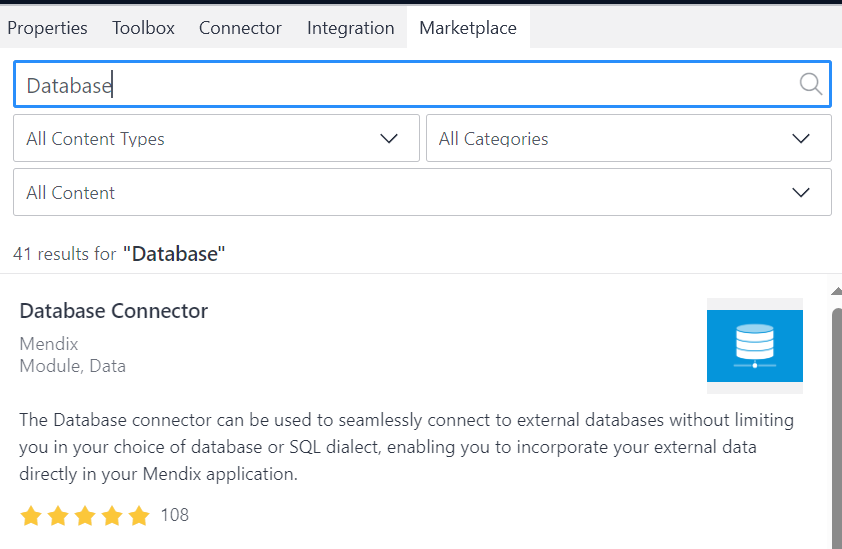
Visit the Mendix Marketplace and download the Database Connector.
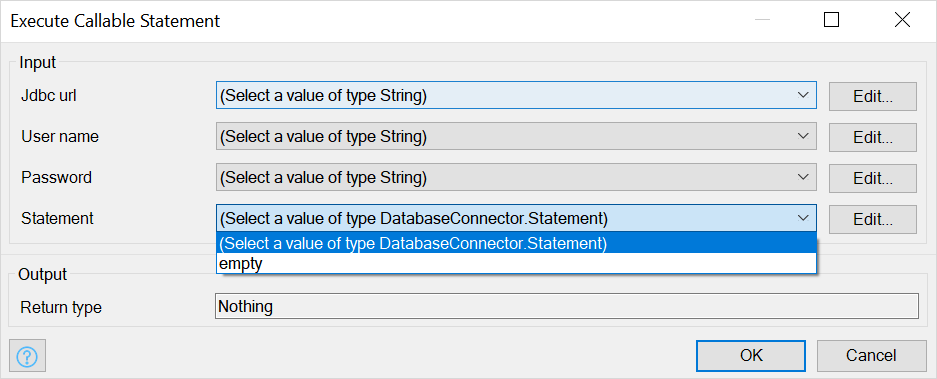
Insert the Database Connector into a microflow, as described in the Mendix documentation.
When configuring the action, provide the following values:
Jdbc url: jdbc:postgresql://your-company.sightmachine.io:5432/tenant_storage
User name: Your API key
Password: Your API secret


For more detailed information and assistance, refer to the full documentation available at https://docs.mendix.com/appstore/connectors/database-connector/.
Accessing Workspaces
All non-archived workspaces are accessible with the ODBC connector. Unlike the current in-production workspace, which is accessible as the "sightmachine" schema, each deployed workspace has its own dedicated schema and can be accessed by Workspace ID.
Accessing Non-Production Workspace Schemas
Navigate to the Workspaces Page: Open STRUCTURE, and then go to the Workspaces page to view a list of all available workspaces.
Locate Workspace ID: Each workspace is associated with a unique ID, positioned just below its name on the Workspaces page.
Identify Workspace Schema: The schema for a particular workspace is named workspace_[ID]. This naming convention remains consistent throughout the schema's lifetime.
Example:
For instance, if your workspace has ID 25, its schema is named workspace_25. This ensures a clear and predictable naming structure for easy identification.
Important Points to Note:
Production Schema: When you are using the production “sightmachine” schema, the underlying data structures may change as workspaces are published as production.
Undeployed Workspaces: Workspaces that have not yet been deployed, like workspace 17 in the provided example, do not have an associated schema.
Archived Workspaces: When you archive a workspace, its schema is also removed. However, if you later restore an archived workspace, a new schema is automatically created for it.